The Walls are Mint(ed)
This post is sponsored by Minted. All opinions are my own.
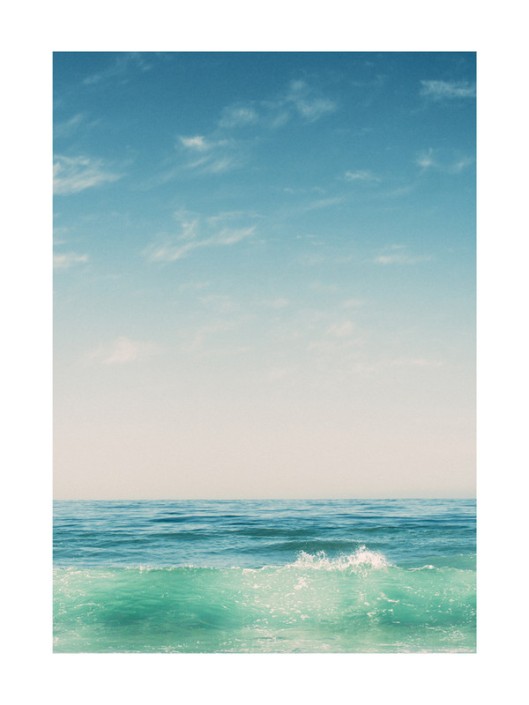
Malibu Surf and Sky II, by Kamala Nahas; Ordered 18×24″, with a black frame.
We’re slowly settling into our new home. We’ve made it through 75% of the boxes – mainly because my mom visited for a long weekend and went through them like a boss. (Thanks Mom!)
My biggest hurdle at this point is getting stuff up on the walls. I look at all the neatly wrapped frames, mirrors and art the movers carefully wrapped and they’re just sitting there… against walls… in groups of 5 or 6… taunting us… *groan* Quite frankly, I needed some inspiration to motivate me to get the walls looking warm and inviting.
Enter Minted with an awesomely timed email about their “Through the Lens” challenge. It’s their first photography-only competition, hosted by their independent artist marketplace. This was the 2nd largest challenge ever for Minted, with almost 5,000 submissions, 459 new pieces selected and 248 total artists represented.
In short, the emails went something like this: Them: “Would you be inters–” Me: “YES!”
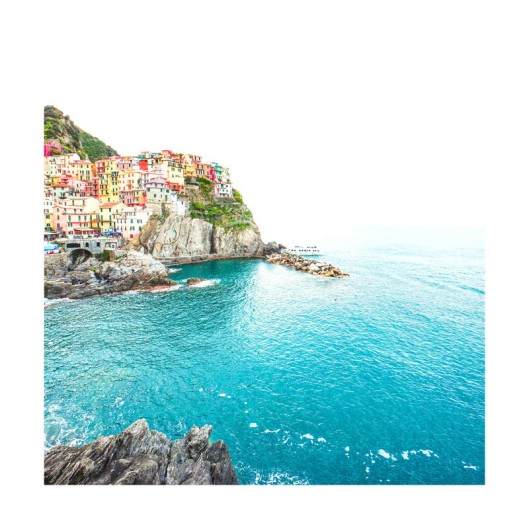
Above The Sea, by Molly Goodman; Ordered 11×11″, no frame
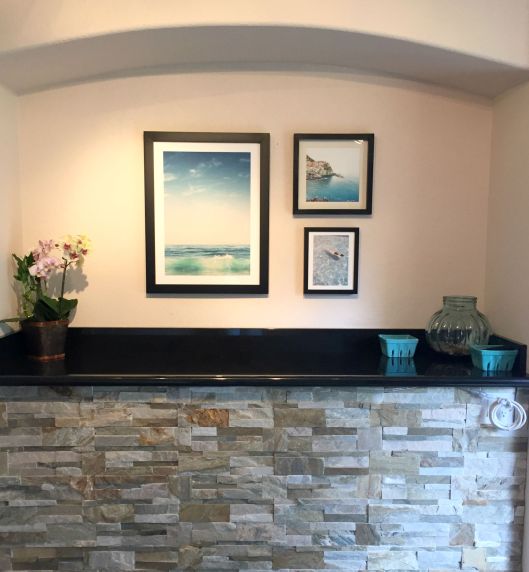
After reviewing the PDF of selected images – all incredibly inspiring on so many levels – I came up with an idea to create a mini gallery wall in the new entry way. I ended up ordering three prints; two would arrive framed by Minted and the third I’d place in a square frame.
Confession: I have zero patience with it comes to hanging frames. I eyeball the space to find the center point; maybe grabbing the measuring tape if it’s in arm’s reach. I then say a quick prayer to the Patron Saint of Home DIY while gripping the hammer. This only happens when I’m hanging ONE frame, NOT multiple ones – and in some sort of pattern to boot. This was going to be a bit of a new challenge for me because the entry way space allows very little room for error.
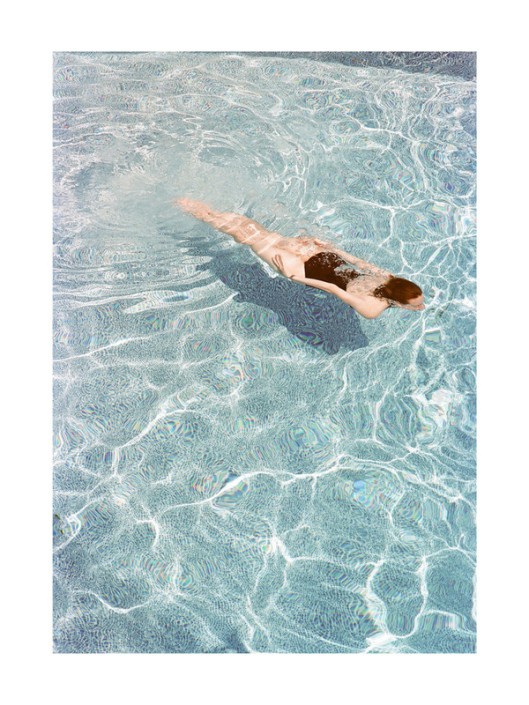
Going For A Swim, by Whitney Deal; Ordered 8×10″, with a black frame.
I grabbed some butcher paper we had leftover from the move, quickly outlined the frames and marked the hanging elements. After cutting out the frames’ outlines, I played with the layout. Then I grabbed my tape measurer, painter’s tape, and my phone (love that calculator app!) and got to work. Here’s how I made my gallery:
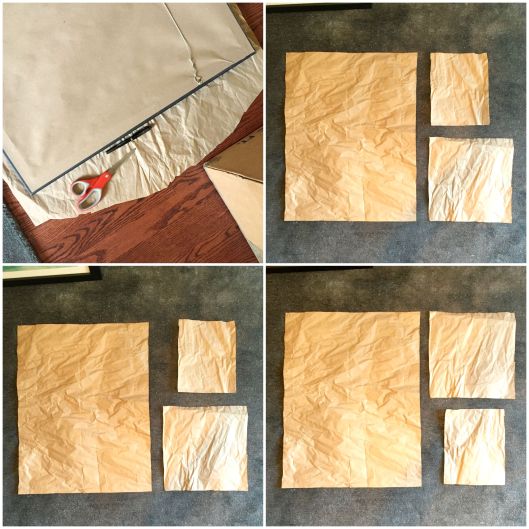
- Quick tip: make sure to pull hanging string or wire tightly upward since that’s how it will hang on the wall; or mark the entire hardware piece.
- Measured the entire layout (length and height) on the floor once it was exactly as I wanted it; divided the total by half for the center point. (If needed, use whatever you can find, like shoes, books or toys, to hold them down.)
- Measured the entire wall space (length and height), marked the center with a piece of tape. From the wall’s center point, I used painter’s tape to mark the layout’s side edges.
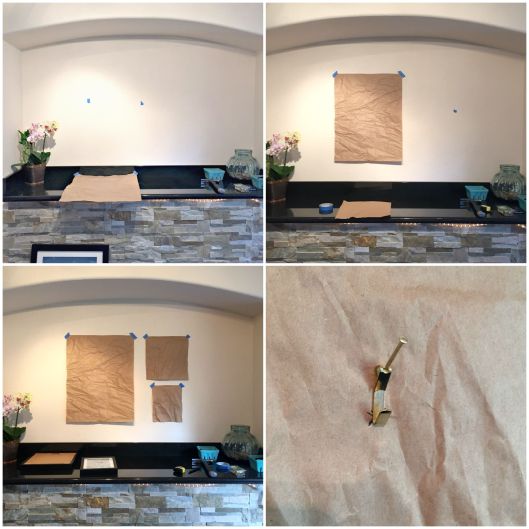
- Quick tip: I find the tape much easier to see when hanging frames on the walls instead of searching for tiny pencil marks. I use the tape’s straight edge as my “mark” and if I need to make a specific mark on the tape, it’s about a million times easier for me to see.
- Moved the outline sheets to the wall and used the tape markers to line up the outer frame edges.
- Placed the hook over the hanging mark and the nail ABOVE it. (This will ensure the frame is exactly where I want it to hang.) Gave the nail a tap or two, just enough to start a hole, then gently pulled it out. Removed the paper and finished hammering the nail-hook combo into the wall. Repeat with each sheet.
- Hang your frames, straighten as needed – and give yourself a pat on the back!
I love these prints so much. Along with reminding me of summer, they give me a great reset each time I look at them. I’m a big believer salt water cures all. Needless to say, if we can’t get to the beach or the pool, these prints will do just perfectly.
Thank you so much for supporting Minted! Sponsors help this lil’ blog a ton and I deeply appreciate their willingness to partner with me on projects like this one.
—Come hang out with this lil’ bird!
like sparrow | tweet with sparrow | sparrow’s pins | sparrow’s snaps

